Just because a smartphone allows you to take photos doesn't mean it allows you to take them well. To avoid dark underexposure and subtle defects such as overly cluttered composition, technique is key.
Here are some easy tips - that require only a little foresight - to help you take better photos:
Get in position. A frequent mistake is to shoot from too far away. It's generally best to fill the frame with your subject and minimize the foreground and background. You'll get better results by moving in closer rather than using digital zoom. You also should position yourself at eye level with the subject.
When taking a picture of a group of people or other subject that lends itself to horizontal, or landscape, orientation, turn your phone on its side.
If you're shooting one person or other subject and it's not a close-up, your photo will look more dynamic if the subject is to the left or right of the frame instead of directly in the center.
Look at the background. Avoid positioning subjects directly in front of objects such as telephone poles or flagpoles, which can look like they're growing out of their heads. Avoid backgrounds that are overly cluttered, which can be distracting.
You can correct many mistakes and impart interesting special effects using image-editing programs like Adobe Photoshop Elements or Paint Shop Pro, various phone apps, or the basic editing tools available at many websites. But avoid the temptation to do too much. An over-edited photo can look as amateurish as a poorly shot one.
Pay attention to lighting. When shooting outside, the best photographic light is in the early morning or late afternoon. If you have to shoot midday, keep yourself and your subject protected by clouds or in the shade, if possible, to avoid harsh highlights, dark shadows, and squinting subjects. If you need to be in the sun, try to shoot with the sun to your side and slightly behind you. Turning on the flash while outside can help eliminate shadows.
Photos taken inside can have a slightly orange cast because cameras are preconfigured for the "color temperature" of the sun. You can fix this by placing subjects by a window so they are illuminated partially by the sun or by using special daylight-balanced light bulbs. Flashes have limited range, so don't expect a dark stage a hundred feet away to look anything but dark in a photo.
Size your photos appropriately. What size you make the final photos depends on how you intend to use them. Photos meant for viewing on another phone, a tablet, or a computer should be smaller than those printed, with one rule of thumb: the width should be no more than 800 pixels.
Take a lot of photos. You can always delete later. This lets you choose the cream of the crop and prevents you from being stuck with shots of people with their eyes closed or landscape shots that are blurred because you didn't keep your hands still.
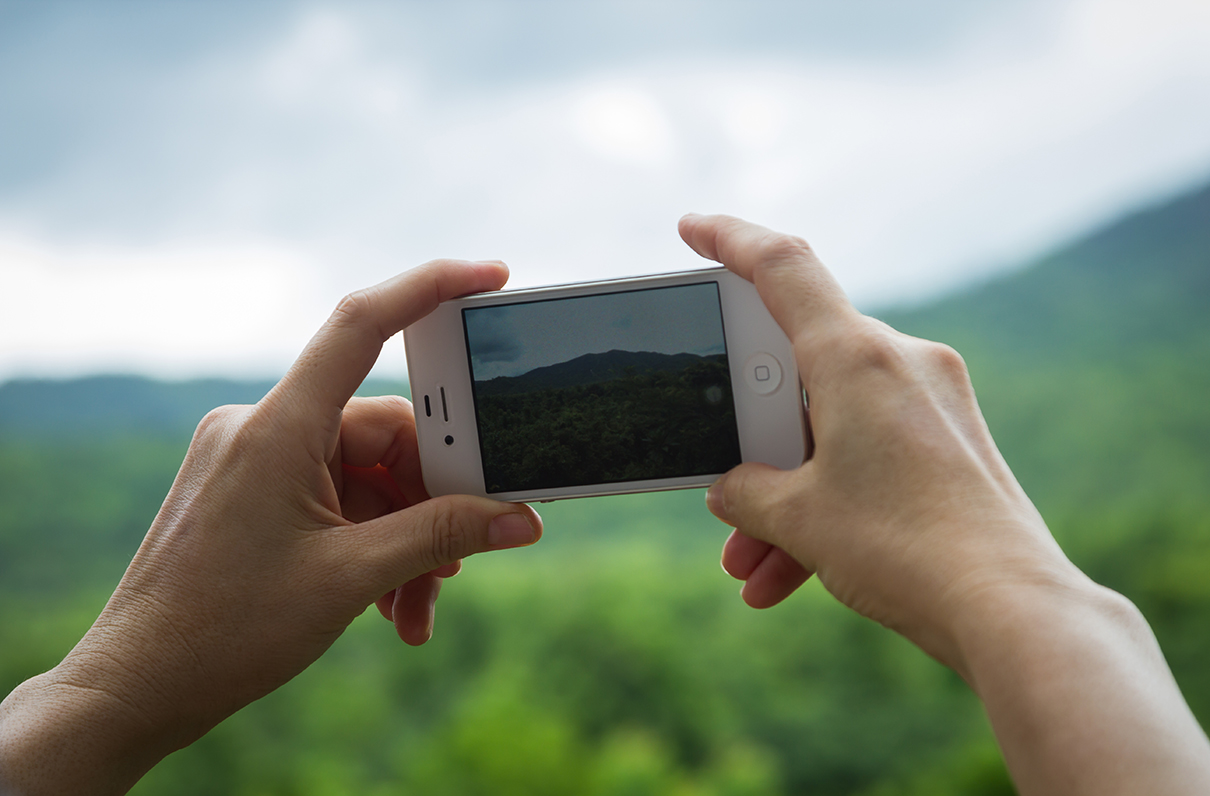
To avoid blurry photos in the first place, pull your elbows into your rib cage, lock them in place, and take the shot holding your smartphone with both hands.